Wednesday, January 26, 2011

M.A.G. Challenge #11

The challenge over at M.A.G Challenge this week was to use Tags, Bags,Boxes and more and only the images on page 130. Want to get this post up pretty quick so if you want to know anything about it just ask. I did not use the window cut from the cart but used my 2 inch scallop punch instead. I am also entering this into Robyn's Birthday Challenge over at MyPinkStamper.com.. Enjoy!


Monday, January 24, 2011

KinderStampO's 34 Birthday Balloons and Counting Blog Hop Winner!!

First I really want to thank EVERYONE for coming by and for all the fantastic compliments I got! I wish I could give each and everyone of you something! I gained almost 100 followers on this hop it was AMAZING! I see another giveaway coming soon!
I am also in another blog hop this weekend and will have candy at that time too so if you want another chance to win something come on by!

And the winner by way of using Random.org is.....

CindiU I will be emailing you right after I post this! Congrats! You have one week to reply back!

Again thank you all so much for the love I got during this hop! It made my weekend.

Friday, January 21, 2011

KinderStampO's 34 Birthday Balloons and Counting Blog Hop

Hello Everyone and welcome to KinderStampO's 34th Birthday Balloons and Counting Blog Hop! We have over 40 designs and projects for you to check out along the way! If you came from Linda's over at Krazy Quilling then you are in the right place. If not and you got lost some where along the way or just started at my blog then no worries the list can be found on Jess's blog! 

I just had to make a birthday card that goes along with the outside weather we are having! Yes we are buried under some snow lol. So I used my Winter Frolic cart to cut the girl making a snow angel out at 4.5 inches. I used my Xyron to adhere the tiny pieces. To put the big pieces and the fur on the hat on I used Helmar 450. The face is a Peachy Keen Stamp from their Princess Face Assortment. The stamp on the outside is from My Pink Stamper her Everyday life set. The sentiment on the inside is printed from my computer. You all know I HAD to put her on an action wobble so it really looks like she is wiggling back and forth making that angel!


Now thank you guys SO much for stopping by and checking out my card! Love you all!

Your next stop is... OK who am I kidding... Yes I have blog candy!! I am giving one lucky winner some Action Wobbles!! Just comment here on this post, would love it if you became a follower, and I will pick a winner on Monday evening using Random.org!


Ok now for your next stop, Bit By the Cricut Bug.   She has something awesome in store for you!! Have a great day!

Monday, January 17, 2011

HSN Entry with Jinger and Provo Craft

Hello out there everyone. I decided I would try and make a card for the HSN giveaway that is broadcasting on the 20th of January with Jinger and Anna Griffin. Provo Craft is showcasing their new Card Maker, and Anna Griffin is coming out with something new as well that day. Here is the post from Jinger on facebook:

 On January 20th, 2011, Provo Craft will announce a NEW exciting creative tool on HSN. Anna Griffin will also be announcing a new product that same day. We can’t tell you what the new products are, but want to offer you a chance to win both. Here’s how you can participate.
Create a card using at least one Anna Griffin product (paper, stamps stickers etc.) and one or more of the following Cricut cartridges; Don Juan, Winter Lace (seasonal) and Wall Décor & More (these are the cartridges to be featured on HSN, Jan 20).  You must be a legal resident of the United States or Canada and at least 18 years of age in order to participate.
Mail your card to the Provo Craft offices to arrive no later than Tuesday, January 18th, 2011.  Entries received after this date will not be eligible.   All submitted cards become the property of Provo Craft and will not be returned to the sender. Cards will be judged based on creativity, design, and whether it uses one or more of the appropriate cartridges and Anna Griffin product. Winning cards will be chosen at the sole discretion of Provo Craft.


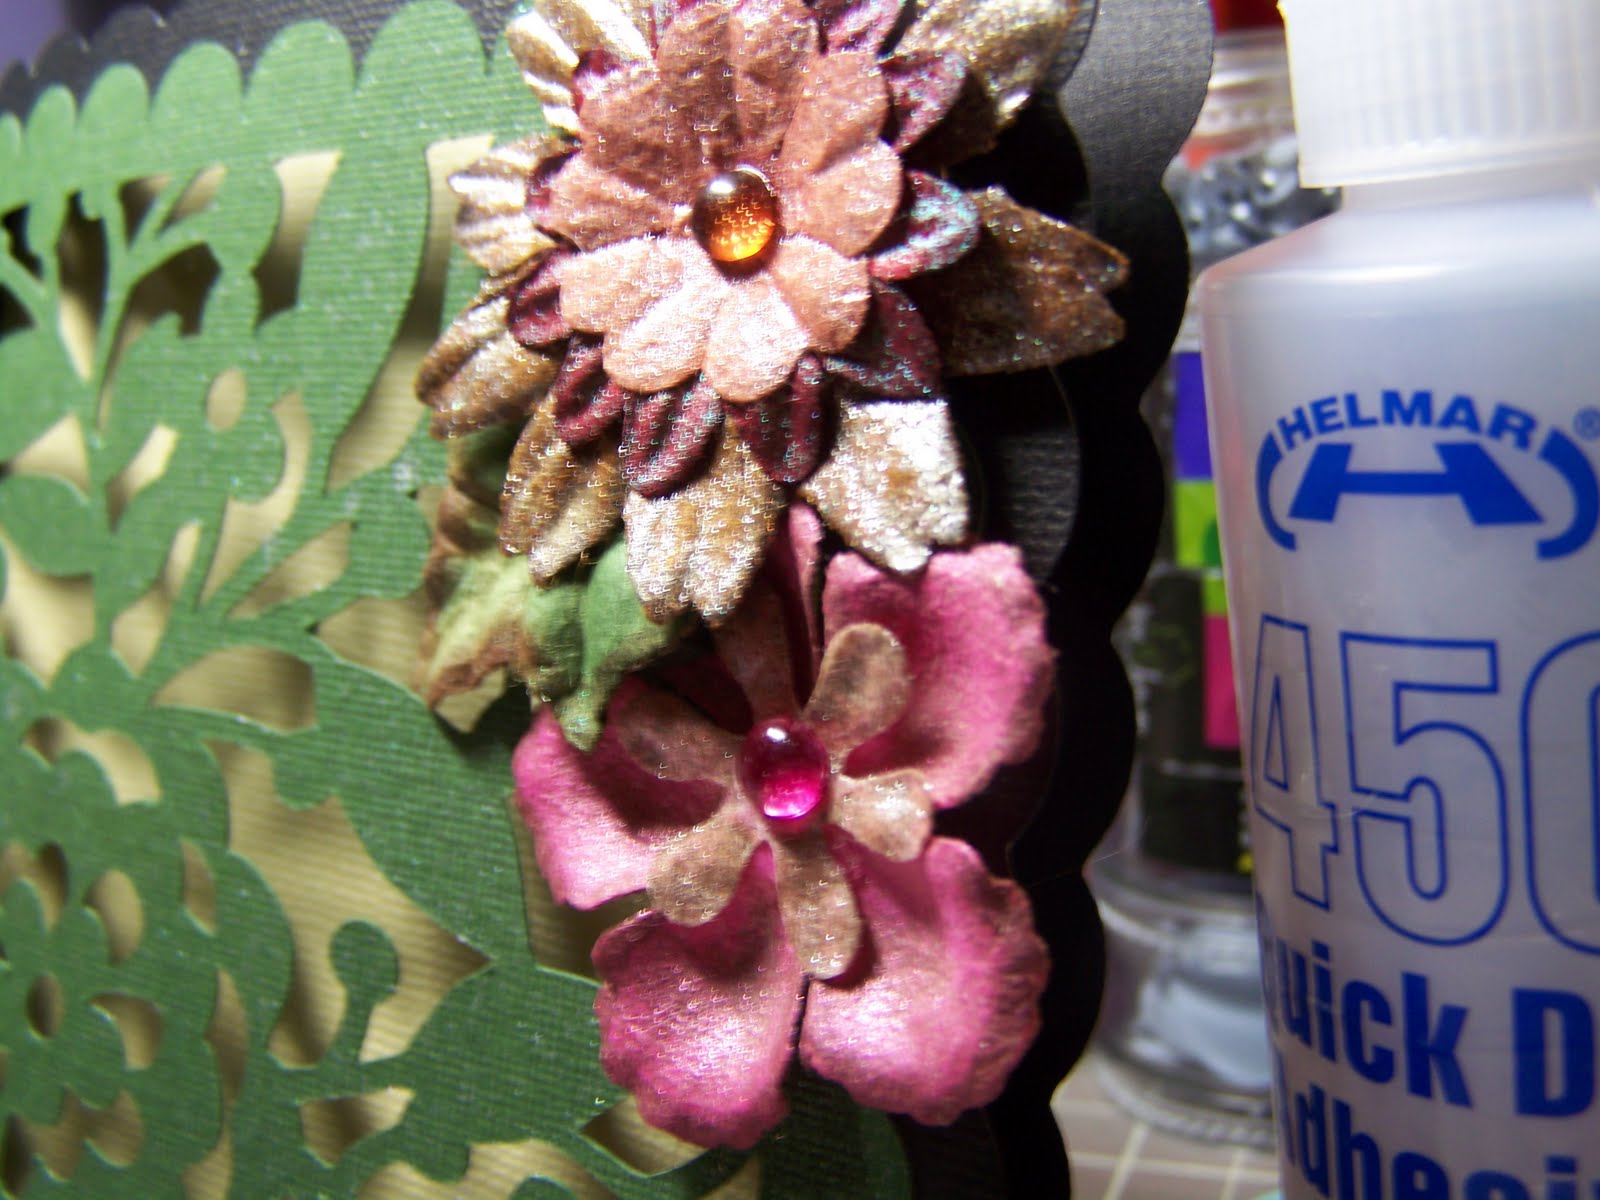
I used Don Juan and Wall Décor and More for my easel/gift card. The Anna Griffin paper I used is from her Hannah Collection. Here is the recipe:

White Card stock cut at 5 x 7 for the base.
For the flip out portion I cut a white piece at 5 x 6 This piece I used the bubbles border punch from Martha Stewart on. I then scored it at ½ inch to make the fold.
Anna Griffin Paper cut at 4 ¾ x 6 ¾ - You will need 3 of these.
Blue card stock cut at 4 ½ x 6 ½ - You will need 3 of these.
Anna Griffin Paper cut at 4 x 6 ¾
Blue card stock cut at 3 ¾ x 6 ½.
Anna Griffin Paper cut at 3 ¾ x 6 ¼.
Blue card stock cut at 2 x 5 ¼.
Anna Griffin Paper cut at 3 ½ x 4 ½
The teacup is cut at 3 inches 2 times One in Blue, One in Grey, and one in Anna Griffin paper.
The letters & shadow pieces are cut at 1 ½ inches in Anna Griffin Paper & Grey Cardstock.


I used only the grey part of the teacup by using my razor to cut it off, and then I covered it in Glossy Accents and put some White acrylic paint to accent the smoke.  The teacup was distressed with Tim Holtz Sky Blue ink.  I used Imaginisce pearls to accent the teacup.
The letters have Glossy Accents on them and some faux stitching with my Uniball White Gel Pen. I distressed the word “thanks” with the same ink as the teacup.  I used Imaginisce pearl gems on all the letters as well.
For the front mat I took a couple of the leftover pieces from cutting out the words and glued them together to make a mask. I used the Sky Blue ink to give a background on the front.
The pearls in swirls are from Basic Grey, the opaline designer half pearls.
I used the pieces left over from the teacup to accent the gift card holder.  
The ribbon is from Oriental Trading, their Fun Expressions line.
There are two places to write on, one of them is by the teacup and the other is on the flip portion. 

This is a long post and I wanted to share as many pictures of it as I could since there was so much to it. Sorry I realized tonight that the pictures I took are not that good and well of course I have already sent the card off so lets hope you can sort of get the idea of what it looked like. Thanks for sticking with me on this LONG post lol. Wish me luck!


Sunday, January 16, 2011

Sweet Thoughts of you

I had to use My Pink Stampers stamps again as I love her stamps. Sweet thoughts of you is from her Everyday Occasions set. The versatility of this stamp is what I love. I can use this card as a Thank You card, a Sympathy card, or a birthday card. I used the Hello Kitty cartridge for the Cherries.
Recipe:
4 1/4 x 5 1/2 red card stock
4 1/8 x 5 3/8 green card stock
2 1/2 x 5 1/4 DCWV Sweet Mat stack "cherry"
Cherries cut at 3.20 (I used my gypsy to lay out the cut).

I didn't have the right color of stickles for the leaves so I used my Xyron to put adhesive on them and then covered them with green glitter. The rest of the cherries glitter is all done with stickles. I pop dotted the leaves a cherries up for more dimension. I used Martha Stewarts Bubble border punch on the top mat. And of course some faux stitching. The ribbon is from Hobby Lobby in the dollar ribbon rack.

Inside Is just some white card stock and the scraps leftover from the front mat with some Color box ink around the edges.

Hope you enjoy!


Saturday, January 15, 2011

My Pink Stamper Blog Hop Challenge

Here is my entry to My Pink Stampers Blog Hop Challenge. It is an A2 card, I used all scrap paper on this card except for the mat. I got that piece from my Glitter Sweet Mat stack from DCWV. I used My Pink Stampers stamp from her Simply Sweet Occasions Stamp set. I had to play with my iTop from Imaginisce after I saw a video made by them on how to use material! Can you believe my DD tried to throw out scraps of material!?! I need to teach her a little better to be a scraper. I popped the cupcake up with two different types of adhesive because I wanted different deminsin on it. The icing is adhered with Stampin Up's dimensionals and the heart is adhered with Helmar's White Zap Dots. I used flock on the heart in two different colors (pink & red) Thanks Celeste!!! She sent me some awhile back, SUCH A SWEETHEART! The pearls are from Core'dinations and the bling on the cupcake is from Imaginisce using their iRock tool and gems. I inked the edges of the pattern paper and the cupcake with Cat's eye ink from Color Box. The ribbon is from Michael's. Then I put the cupcake on the card with my latest addiction an ACTION WOBBLE! :) Have fun if you join in guys, cause I sure did making this card!

Recipe:
5 1/2 x 4 1/4 base
5 3/8 x 4 1/8 White card stock
5 1/4 x 4 DCWV mat stack
Cupcake 3 1/2
Inside:
5 3/8 x 4 1/8 White card stock
1 1/4 x 4 DCWV mat stack


Sunday, January 9, 2011

Accordian Fold Panda Love!

M.A.G challenge is back!! I thought I was going to have to miss the first week back but thanks to Michael's and their 9.99 sale I was so lucky to get the Pagoda cartridge. I unfortunately found out about the sale way later in the evening and that was the only cartridge they had left.
I decided to make a Valentines card for the challenge. I cut the panda out at 3 inches and used flock on the white part to fluff him up a bit by running it through my Xyron upside down. I hid the eyes with my gypsy so I could put some google eyes on him. The last picture down below shows where I faux stitched him AFTER I took the main pictures. The cupcake in his hands is from the EK Success border punch. I used Lindy's Stamp Gang Hottie Patootie Pink and Poinsettia Red Gold to color the cupcakes, originally cut on white card stock.
All the other embellishments on the card are from The Paper Bliss that I got in a 9.99 value pack long ago. The heart/flourish paper on the main focus of the card is from K&Company. I think the print paper on the other side of the card is from The Paper Studio but I cannot remember for sure as it was from my stash.
The band of the card is the same K&Company paper with another Paper Bliss embellishment on it, I added a stick pin with beads for a little more bling that I made tonight as well. I am also entering this in Emma's Throwback Thursday Challenge.  I hope you enjoy!


Card base 5 1/2 x 11 scored at 1 1/2, 3, 5 1/2, & 8.
Mats cut at 1 1/4 (1 of them K&Company & 1 The Paper Studio), 2 1/4 (1 of them K&Company & 1 The Paper Studio), & 2 3/4 (K&Company).
Band cut at 8 x 2 1/2


Monday, January 3, 2011

My Pink Stamper Design Team Call

I really wanted to participate in My Pink Stamper's Design Team call & I had to create a sympathy card for my ex boss as she lost her fiance' yesterday. So I figured I would make it with the colors designated in the challenge but make them more vintage.These colors were Pink, Green, Brown and one color of your choice. I chose black.
I started with The Cindy Loo cartridge on my Gypsy. I created the card base from page 68 button 41. I used the shadow part of this cut and duplicated it, at a size of 5 inches then welded it together. I then used the shadow feature again but smaller (4.30 inches ) this time to create the window for the card.I used Colorbok textured paper from Walmart.
I cut the doily covering for the mat of the card at 4.85 inches from Cindy Loo from the same page as the base. I used The Paper Studio textured cardstock in Olive green.
The mat inside the card is cut at 4.30 inches using The Paper Studio's textured light brown cardstock. I stamped it with a Hero Arts Every day sayings "Thinking of You".
I sprayed the doily with Shimmer Mist pearl. I then added some flowers from Prima and sprayed them with Lindy's stamp gang mist (Hottie Patottie Pink & Treasure Island Aqua 'the aqua comes out brown with a shimmer from the mica powder mixed in it'). I also used Tsukinek Walnut Ink to color some of the flowers. I glued them together with Helmar's 450 Quick Dry Adhesive. The pink flower (which is actually an "E" flower that was white) was attached with Helmar Black Zapdots as well as the green leaf. The bigger flower was attached using Scrap Dots from Helmar to give it more dimension. Hope you all like the card & thanks for stopping by!

Here is how the card was layed out on my Gypsy.


These 4 pictures are to show you the details of the cards.
>